Last summer I made my first visit to Santa Barbra California and I was blown away by the beauty of the entire area. I’ve been all up and down the east coast from Maine to Key West, all over Florida, the gulf coast, San Diego to Big Sur, and I’ve spent some time in the Pacific Northwest coast but Santa Barbara might be the most beautiful part of the country I’ve seen. Big, majestic mountains surround the charming and clean town. Picturesque palms line bike paths and parks, sailboats fill the harbor and there are wide, bright beaches everywhere. Combine that with near perfect weather and the vibrancy that comes along with a few local colleges, and you have a pretty special place.

It was biking along one of those palm lined paths one day when I I looked up to see a few people flying above one afternoon, suspended below a parachute like contraption and gently gliding back and forth above the beach.
This, I thought, looks likes fun.
When they landed I asked them what they were up to and how to get involved. Here’s the definition according to everyone’s favorite source, wikipedia:
Paragliding is the recreational and competitive adventure sport of flying paragliders: lightweight, free-flying, foot-launched glider aircraft with no rigid primary structure.[1] The pilot sits in a harness suspended below a fabric wing consisting of a large number of interconnected and baffled cells. Wing shape is maintained by its suspension lines, the pressure of air entering vents in the front of the wing and the aerodynamic forces of the air flowing over the outside.
The guys explained there was a company that does training for beginners right up the road, and to check out there website. So that day I learned more about Eagle Paragliding, did some more research and started to get excited.
A few months and a few emails later and my buddy Mike and I made the trek “up the hill” at Elings Park to join Eagle Paragliding for a full day lesson.

After filling out a ton of paperwork and waivers, we got fitted for gear (helmets, radios, harnesses and wings) and the instructors demonstrated how it all works together. In it’s simplest terms, you strap your legs, waist and chest into a big, padded backpack that’s connected through a series of cords (risers) at the hip to a wide parachute style wing that inflates when you give it a pull into the wind and provides the lift you need to stay air bound. You control your speed and direction with pressure on these hip connections and also by pulling on hand levers that act as “brakes”.
We watched the instructors inflate the wings a few times by running forward and maintaining the right amount of pressure and force on the wing, then we each gave it a shot a few times.

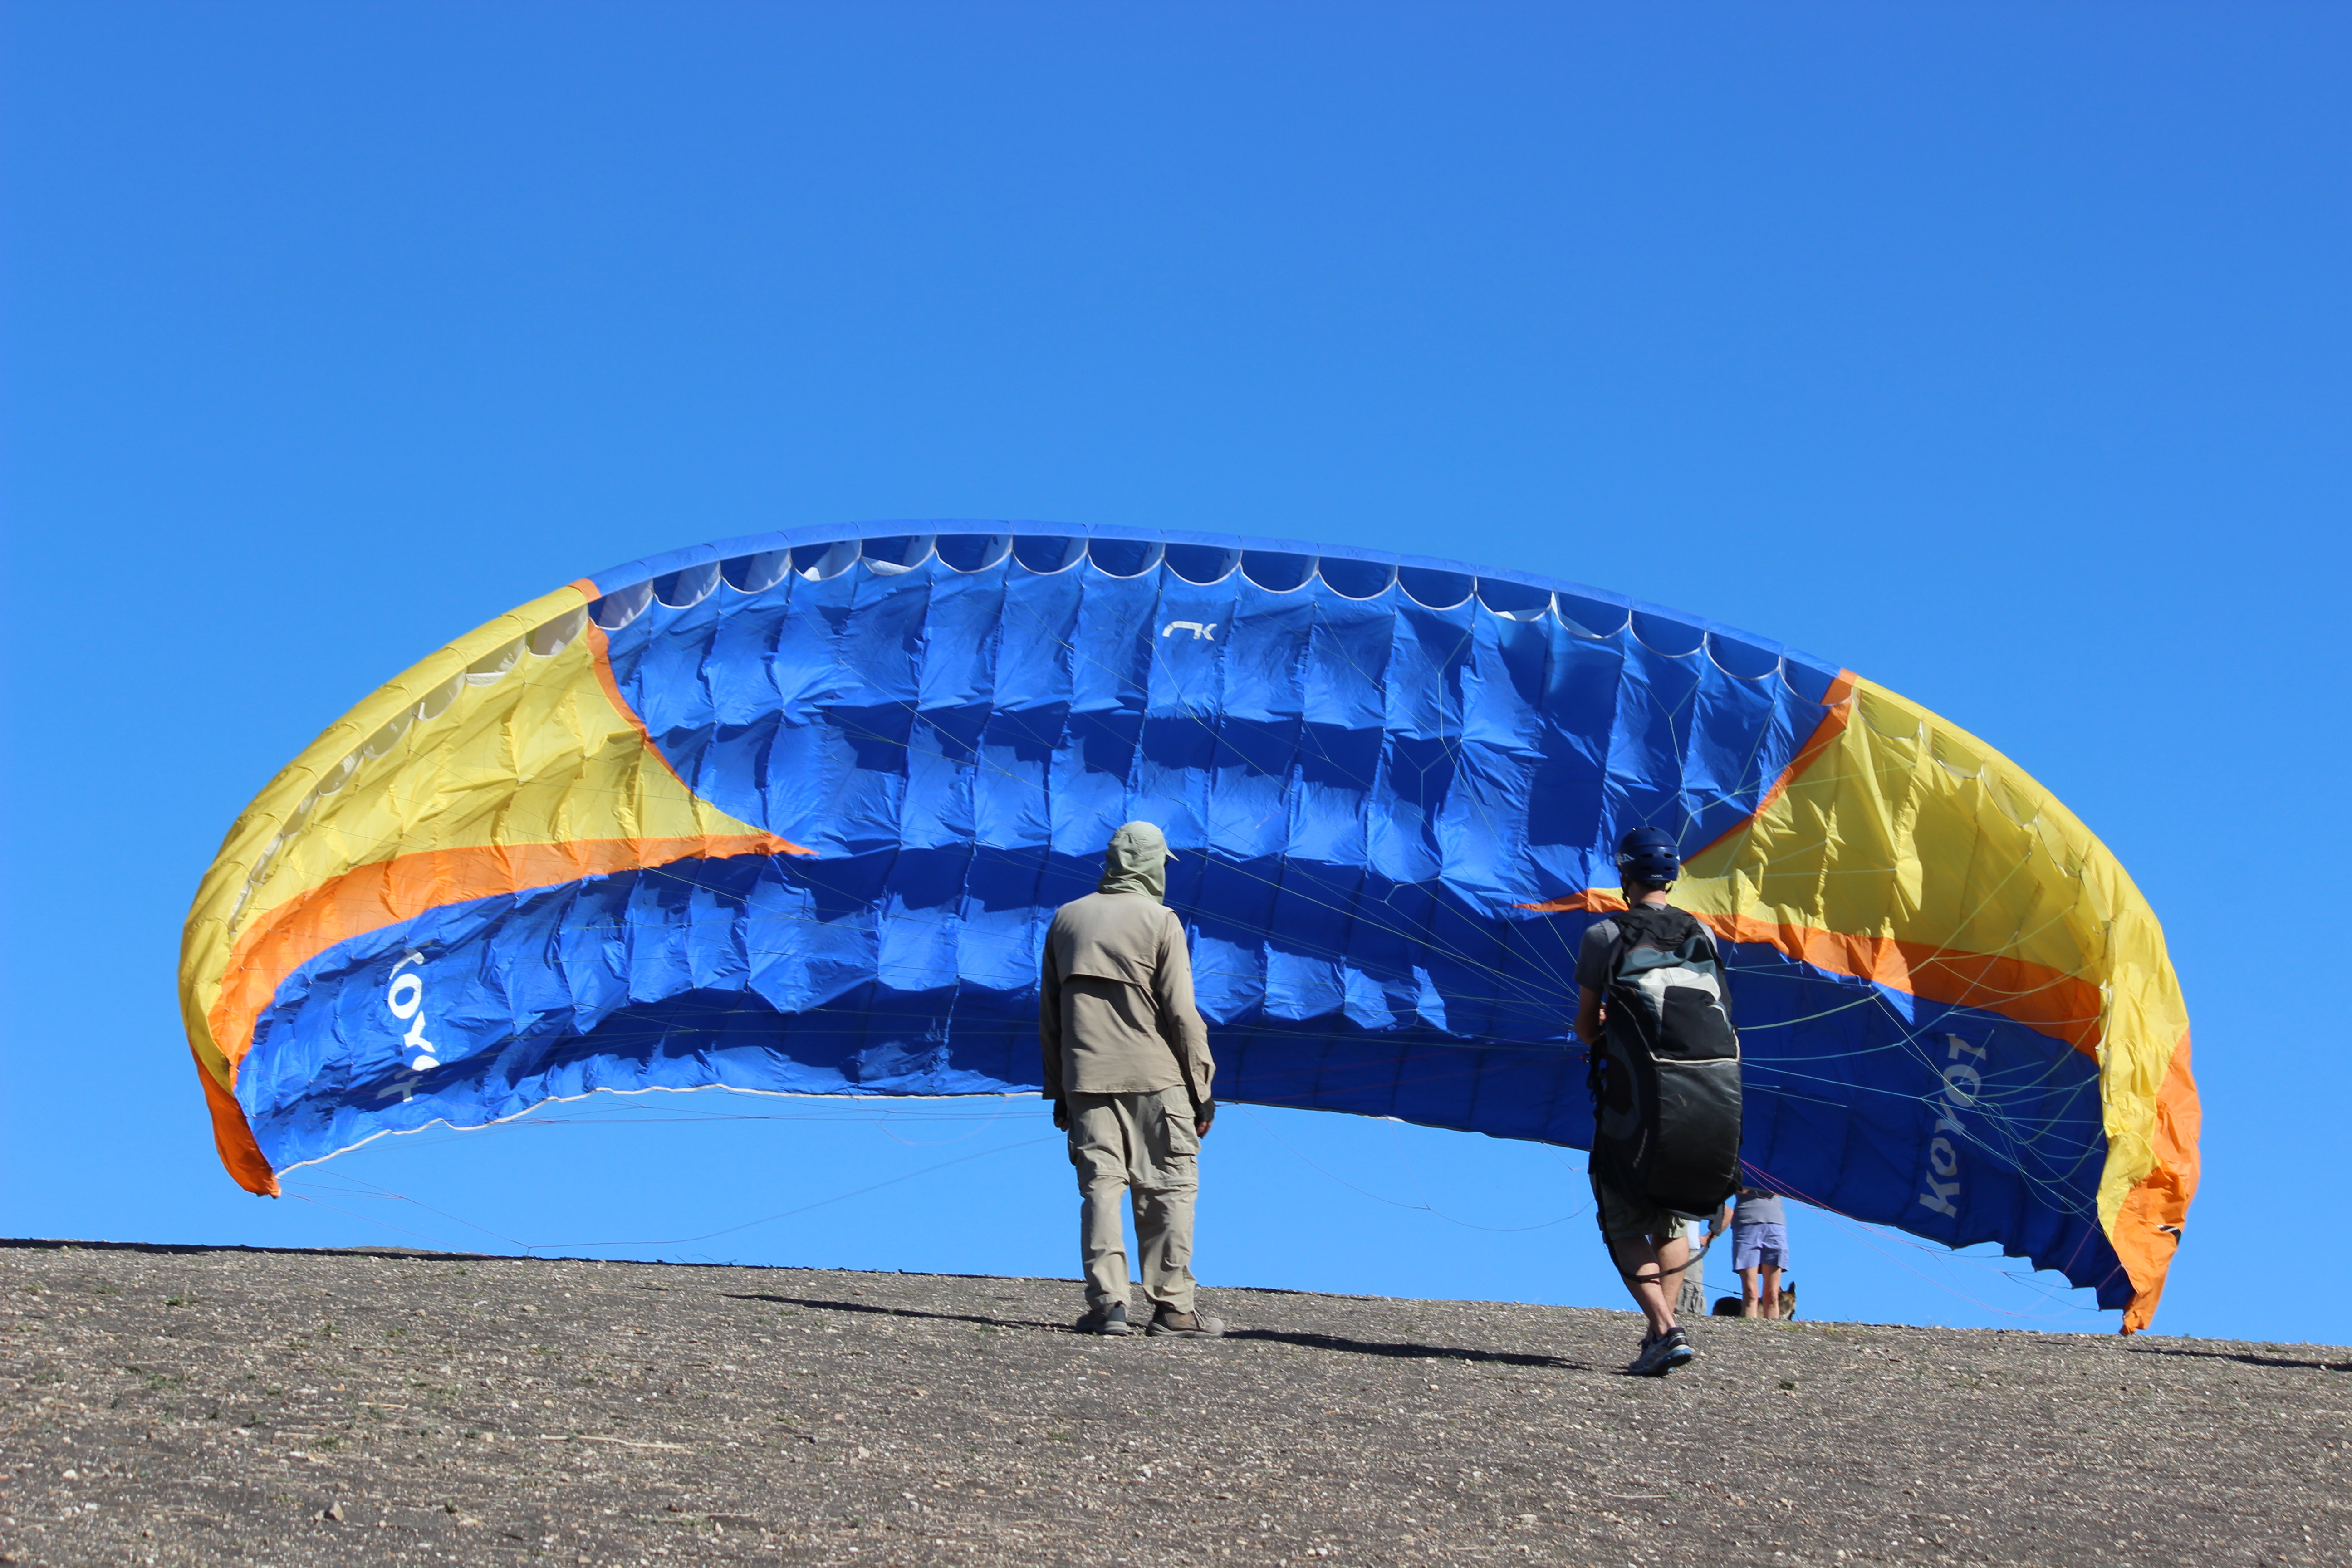
Getting the wing ready to fly takes a lot of practice. One method for spreading it out evenly is to let it catch the wind for a second to “build a wall” before letting it lay flat on the ground before takeoff. But one of the trickiest parts was keeping control of the wing once it left the ground. It seemed very touchy – one second its floating evenly the next second its a wrinkled ball of nylon and string all bundled up. But after practicing we got a better idea of how to control it by feeling the pressures and making slight adjustments.
We then sat at the forward edge of the hill and had a preflight briefing. Here we talked about take off, flight plans, turning in the air and landing. At this point, after training for about an hour and a half, we prepared to make our first launches into the sky.
At this point I’m thinking to myself, is this safe? I thought I had a good understanding of how it all works, but the idea of flinging myself into the air, completely reliant on this equipment and my own abilities to control it was a little daunting.
But, like the kid at the top of an intimidating sledding hill or the teenager behind the wheel alone for the first time: At some point the only way to learn is to do.
And so, we did.
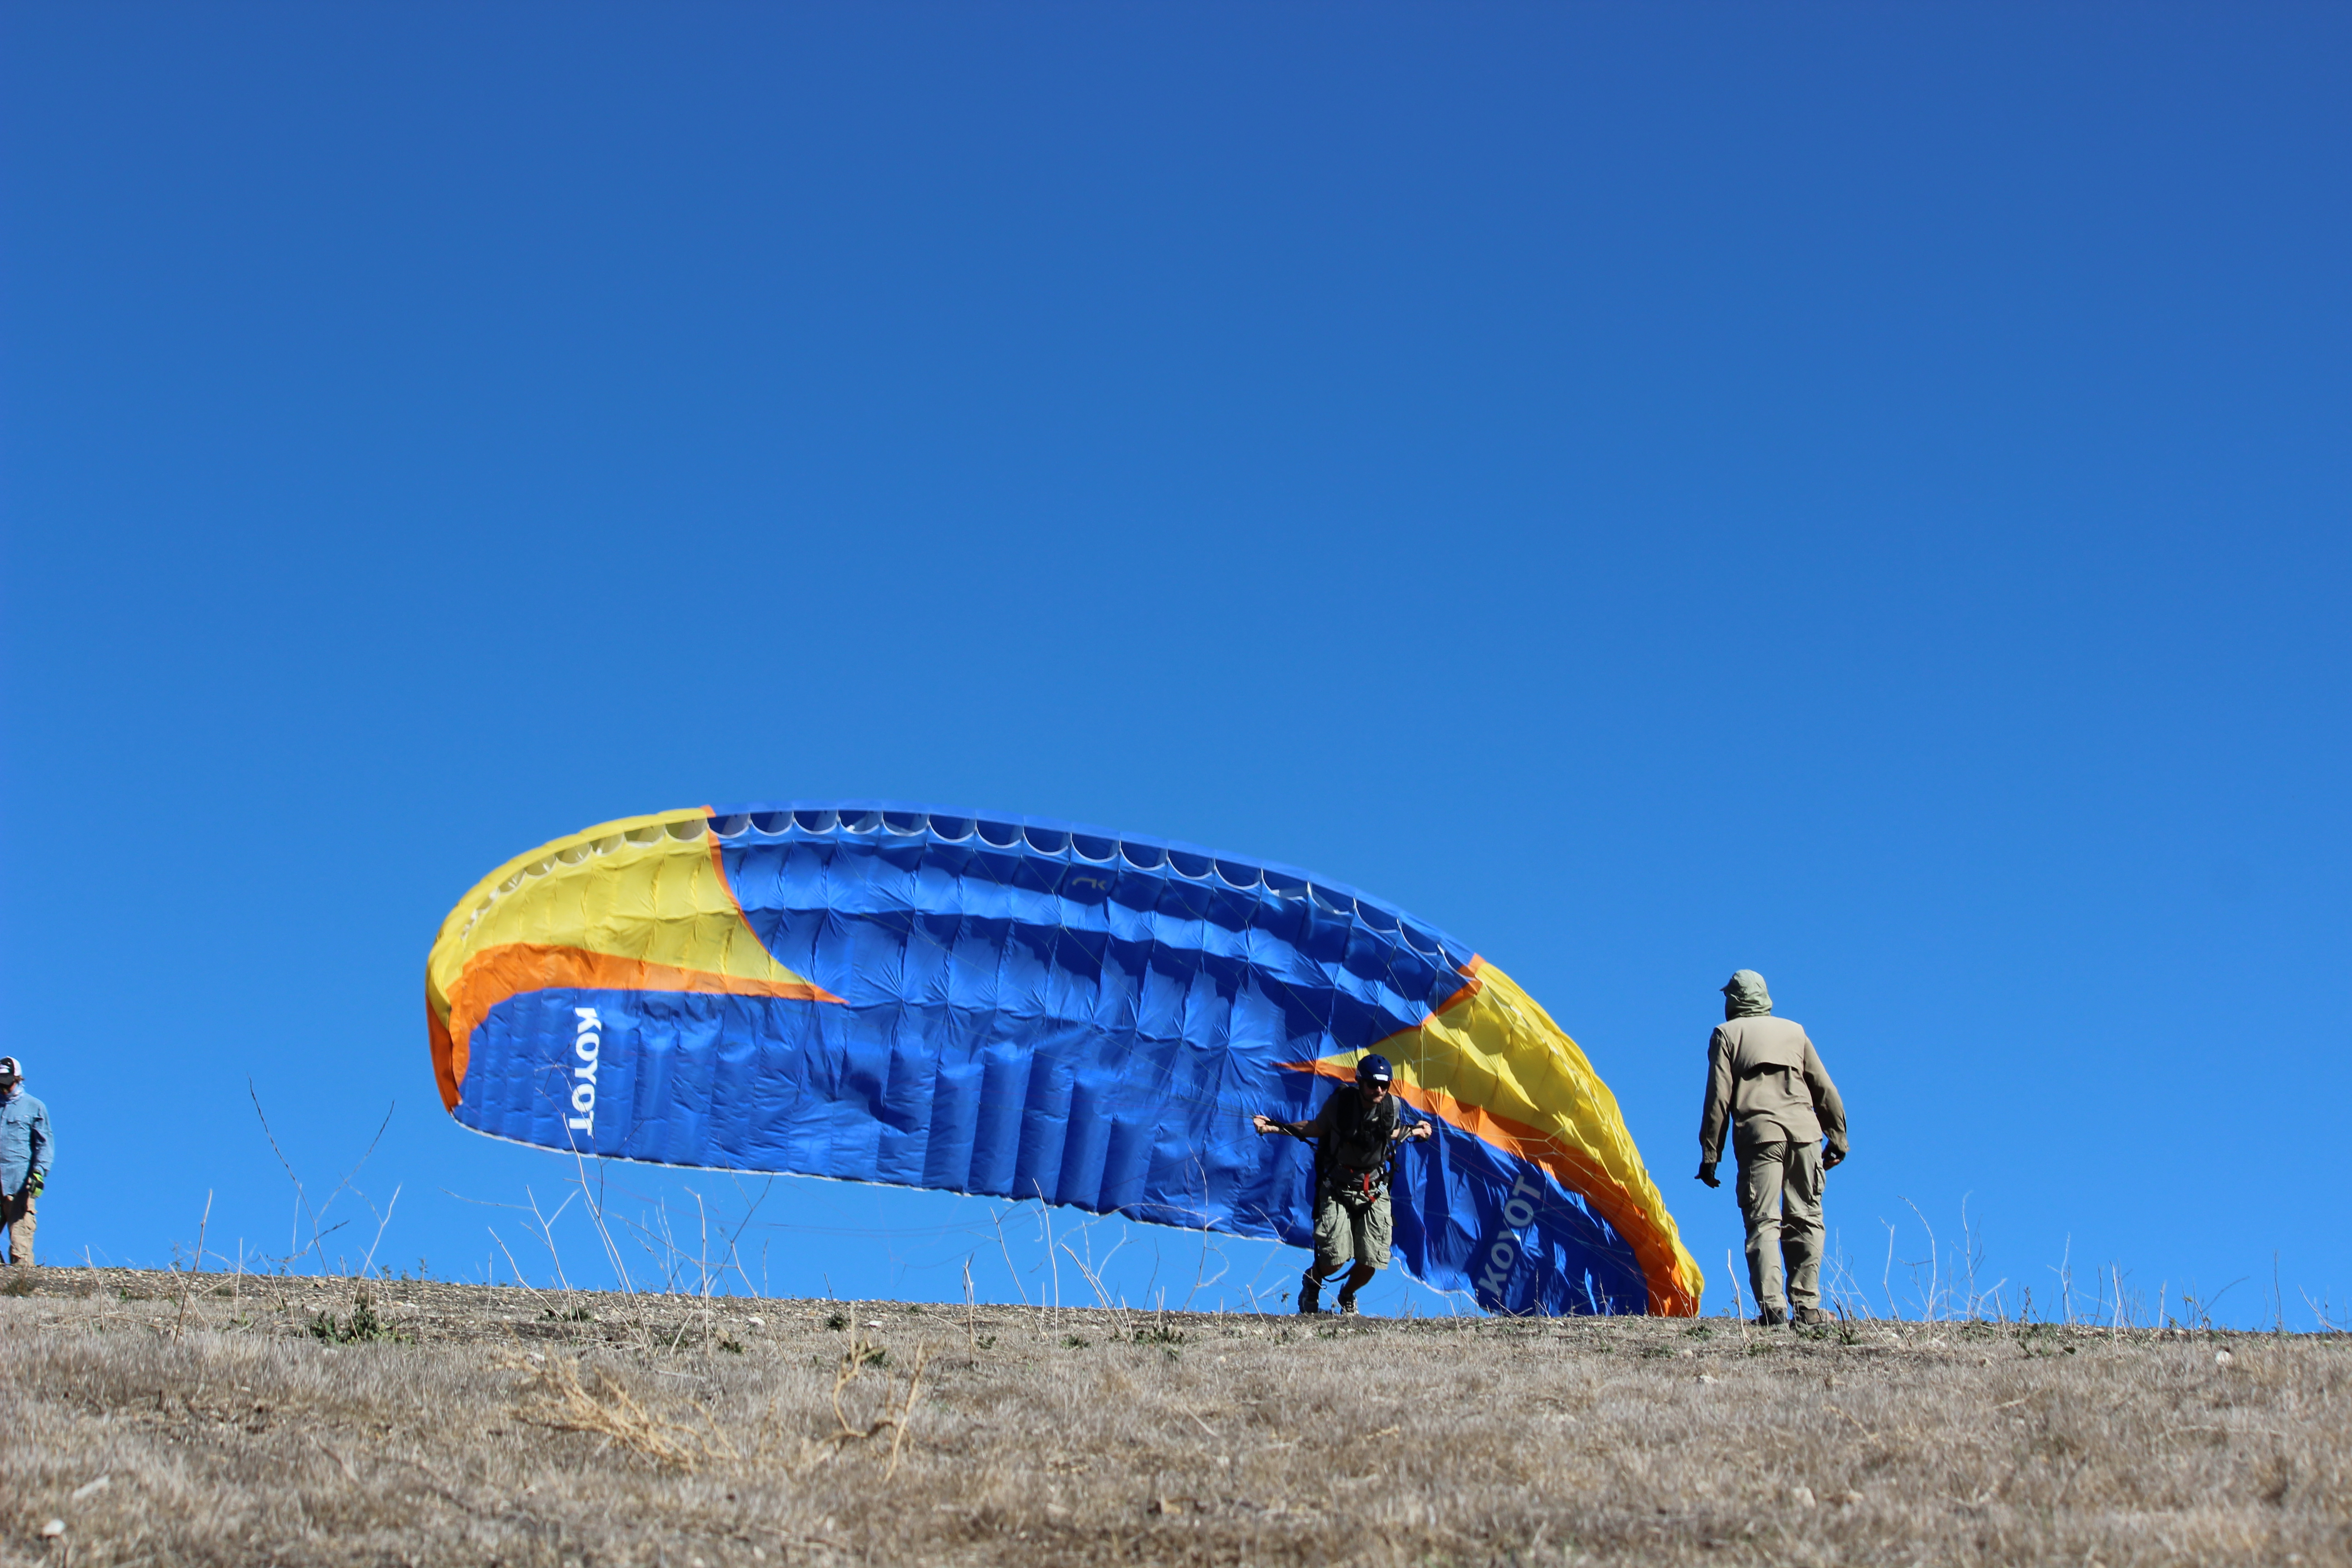
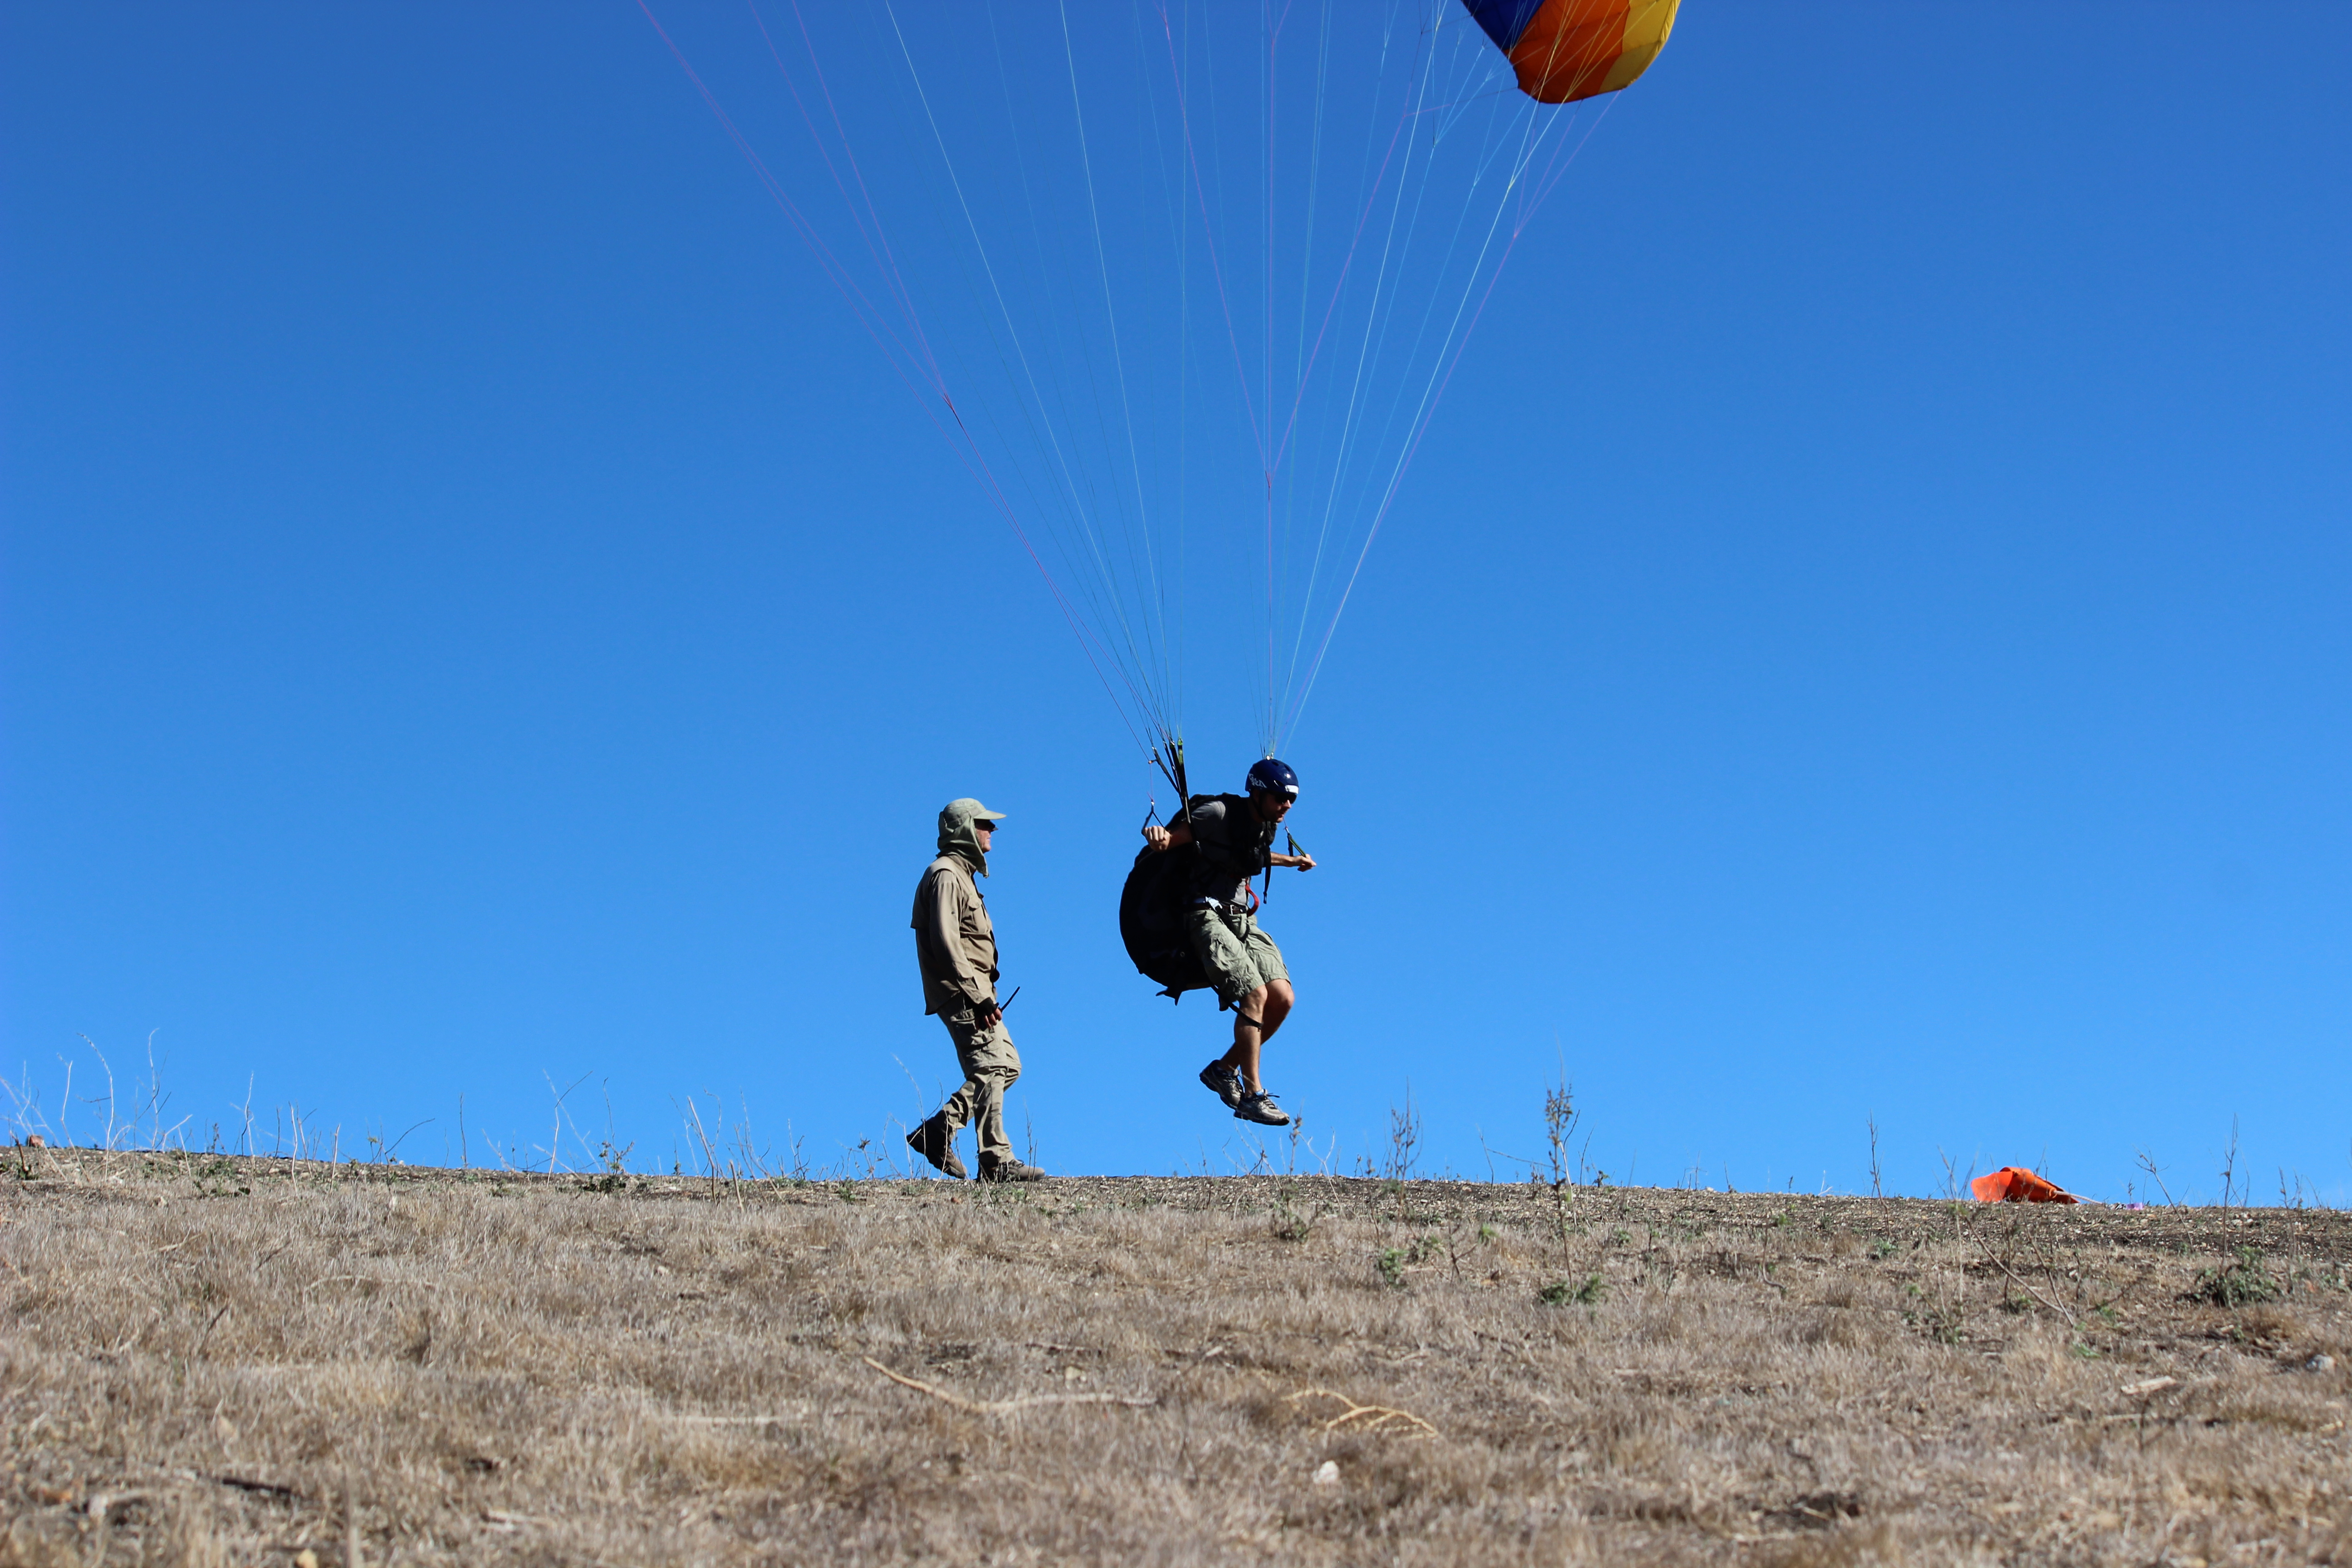
Running toward the instructor at full speed until the wing lifts and inflates with air, we push forward until the wing speed and our speed match, push forward until it’s even and steady, and push until it creates enough lift that your feet leave the ground and you’re suspended 6 inches, 12 inches, 6 feet, 20 feet above the air.
And then, you’re flying.


Once you’ve made your first flight, your only thought is to gather your gear, get to the van as quick as you can for a ride back up the hill and do it all over again!

We did about 6 flights before lunch and about 6 after, and had a great time.
It was a really good chance to try something new and unique, enjoy nature and push our bodies to try something we’ve only seen James Bond or Batman do in the movies.
I think it’s also good to do something every once in a while that scares you a little bit. Find the edge and cross it. It’s not often we do that these days, but I think its important to figure out what your capable of. That, and its just fun.
Anyway, big thanks to the good folks at Eagle and my buddy Mike for joining and taking some photos.
Time to get off the computer for a bit, but stay tuned!

Leave a comment